

Dinner rolls are more than just a side dish—they’re a warm, buttery hug served with every meal. These pillowy-soft, golden-brown rolls can elevate any table, from weeknight dinners to holiday feasts. Their delicate crumb, slightly sweet flavor, and irresistible aroma make them universally loved by kids and adults alike.
Whether you’re pairing them with soup, roasting a turkey, or just spreading them with butter, making dinner rolls from scratch will always impress. This comprehensive guide walks you through everything you need to know, from ingredients to baking tips, ensuring success even if you’re a beginner baker.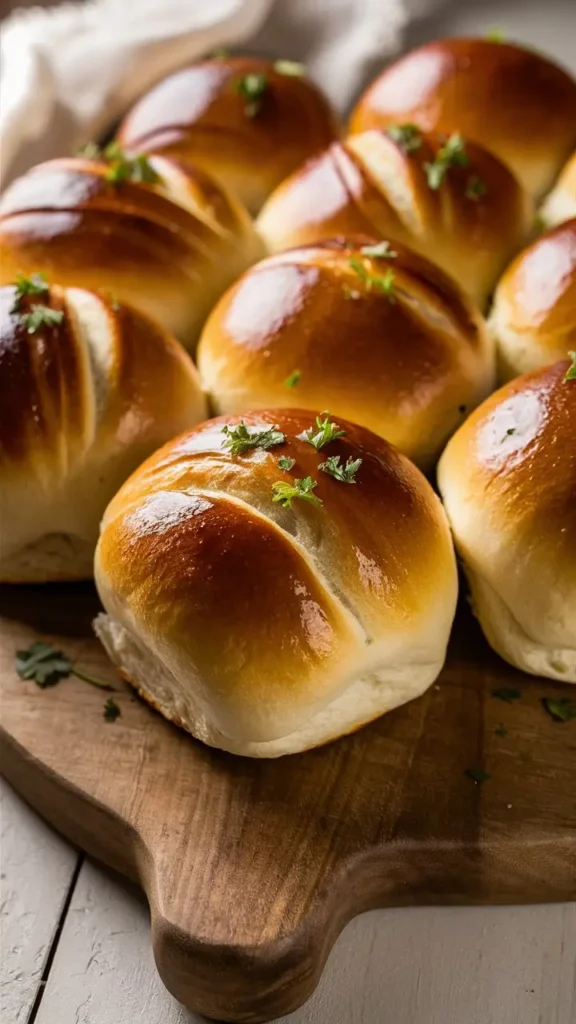
Why You Will Love This Recipe
Soft and Fluffy Every Time – These rolls turn out light and airy thanks to proper kneading and rising techniques.
Rich Buttery Flavor – Made with milk, butter, and eggs, these rolls are perfectly tender and flavorful.
Make-Ahead Friendly – You can prepare them in advance and bake when needed, perfect for busy holiday cooking.
Versatile and Customizable – Add herbs, cheese, or garlic for your own flavor variations.
Ingredients List
Here’s everything you’ll need for homemade dinner rolls:
4 cups all-purpose flour (plus extra for kneading)
1 packet (2¼ teaspoons) active dry yeast
1 cup warm milk (around 110°F)
¼ cup granulated sugar
¼ cup unsalted butter, melted
1 large egg
1 teaspoon salt
Extra melted butter (for brushing after baking)
Optional Add-ins
Garlic powder or fresh minced garlic
Chopped fresh herbs (like rosemary or parsley)
Shredded cheese (cheddar or parmesan work well)
Timing & Servings
Prep Time: 20 minutes
First Rise: 1 hour
Second Rise: 30 minutes
Bake Time: 20 minutes
Total Time: About 2 hours 10 minutes
Servings: 12 rolls
Step-by-Step Instructions for Dinner Rolls
Step 1: Activate the Yeast
In a large mixing bowl, stir together the warm milk and sugar. Sprinkle the active dry yeast on top. Let it sit for 5–10 minutes until foamy. This means your yeast is alive and active.
Step 2: Add Wet Ingredients
Stir in the melted butter, egg, and salt until combined.
Step 3: Incorporate the Flour
Gradually add flour, one cup at a time, mixing with a wooden spoon or dough hook. Continue until the dough comes together and pulls away from the bowl sides.
Step 4: Knead the Dough
Transfer the dough onto a lightly floured surface. Knead for 8–10 minutes by hand (or 5–6 minutes using a mixer with a dough hook) until it becomes smooth and elastic.
Step 5: First Rise
Place the kneaded dough into a greased bowl. Cover with a clean kitchen towel or plastic wrap and let it rise in a warm place for about 1 hour, or until doubled in size.
Step 6: Shape the Rolls
Punch down the risen dough and divide it into 12 even pieces. Shape each piece into a smooth ball and place them in a greased 9×13-inch baking dish or on a parchment-lined sheet.
Step 7: Second Rise
Cover the shaped rolls with a towel and let them rise again for 30 minutes, until puffy and touching each other.
Step 8: Bake
Preheat your oven to 375°F (190°C). Bake the rolls for 18–22 minutes until they are golden on top and sound hollow when tapped.
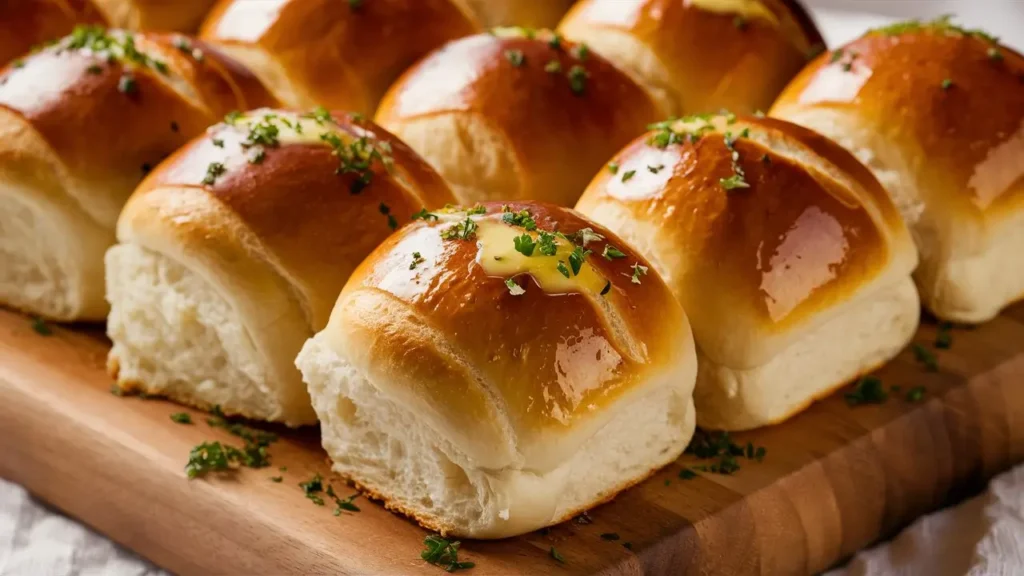
Step 9: Brush with Butter
Remove from oven and immediately brush the tops with melted butter for extra flavor and a beautiful shine.
Expert Tips for Perfect Rolls
Use the Right Temperature
Milk should be warm (not hot) to activate the yeast properly—around 105–110°F.
Don’t Over-Flour
The dough should be slightly sticky, not dry. Over-flouring leads to tough, dense rolls.
Allow Proper Rising Time
Rushing the rise can affect the texture. A full rise ensures soft, airy results.
Make-Ahead Instructions
You can prep these rolls in advance in two ways:
Overnight in the Fridge
Shape the rolls and refrigerate overnight after the second rise. Let them come to room temperature for about 30–45 minutes before baking.
Freeze Before Baking
Shape the dough balls and freeze them on a baking sheet. Once frozen, transfer to a freezer bag. Thaw at room temperature, let rise, then bake.
How to Store and Reheat Dinner Rolls
Storage
Room Temperature: Store in an airtight container for up to 3 days.
Refrigerator: Can last up to 5 days, but may dry out slightly.
Freezer: Freeze for up to 3 months. Wrap in foil or place in freezer-safe containers.
Reheating
Oven: Wrap in foil and bake at 325°F for 10–15 minutes.
Microwave: Heat individual rolls wrapped in a damp paper towel for 15–20 seconds.
Variations You Can Try
Garlic Butter Rolls
Mix 1–2 teaspoons of minced garlic and a sprinkle of parsley into the dough or butter glaze.
Cheddar Herb Rolls
Add 1 cup shredded cheddar and 1 tablespoon dried herbs to the dough before shaping.
Honey Butter Rolls
Substitute sugar with honey and glaze with honey-butter after baking for a sweeter roll.
What to Serve with Dinner Rolls
Dinner rolls are incredibly versatile. Pair them with:
Roast chicken or turkey
Pot roast or beef stew
Soups (tomato, broccoli cheddar, chicken noodle)
Gravy, butter, or jam for a lighter meal
Nutritional Information (Per Roll – Approximate)
Calories: 180
Fat: 5g
Carbohydrates: 28g
Protein: 4g
Sugar: 4g
Fiber: 1g
Common Mistakes to Avoid
Using expired yeast – Always check the date and test with warm water.
Skipping the second rise – This step ensures fluffy texture.
Overbaking – Watch carefully after 18 minutes to avoid drying them out.
FAQs
Can I use instant yeast instead of active dry yeast?
Yes! You can substitute equal amounts. Mix it directly with the dry ingredients, and skip the proofing step.
Can I make these rolls without eggs?
Yes. While eggs help with richness and texture, you can omit them or substitute with ¼ cup plain yogurt or unsweetened applesauce.
How do I make the dough rise faster?
Place the dough in a warm oven with just the light on or in a microwave with a cup of hot water next to it.
Why are my rolls too dense?
This usually happens due to over-flouring, under-kneading, or not letting the dough rise fully.
Can I use whole wheat flour?
Yes, you can replace up to half the flour with whole wheat flour. The rolls will be denser and more hearty.
Let me know if you’d like this turned into a blog-ready post with Pinterest titles, meta descriptions, or SEO tags!
Conclusion
Dinner rolls are a timeless staple that bring warmth, comfort, and a sense of home to any meal. Whether you’re preparing them for a holiday feast, a casual weeknight dinner, or simply to enjoy with butter and jam, homemade rolls always stand out. With just a few pantry ingredients and a bit of patience, you can create soft, fluffy, golden rolls that rival any bakery.
By following the step-by-step guide, using the tips provided, and customizing them to your taste, you’ll not only bake delicious rolls—you’ll build a new kitchen tradition. Once you master these dinner rolls, you’ll find yourself making them again and again for every occasion.