
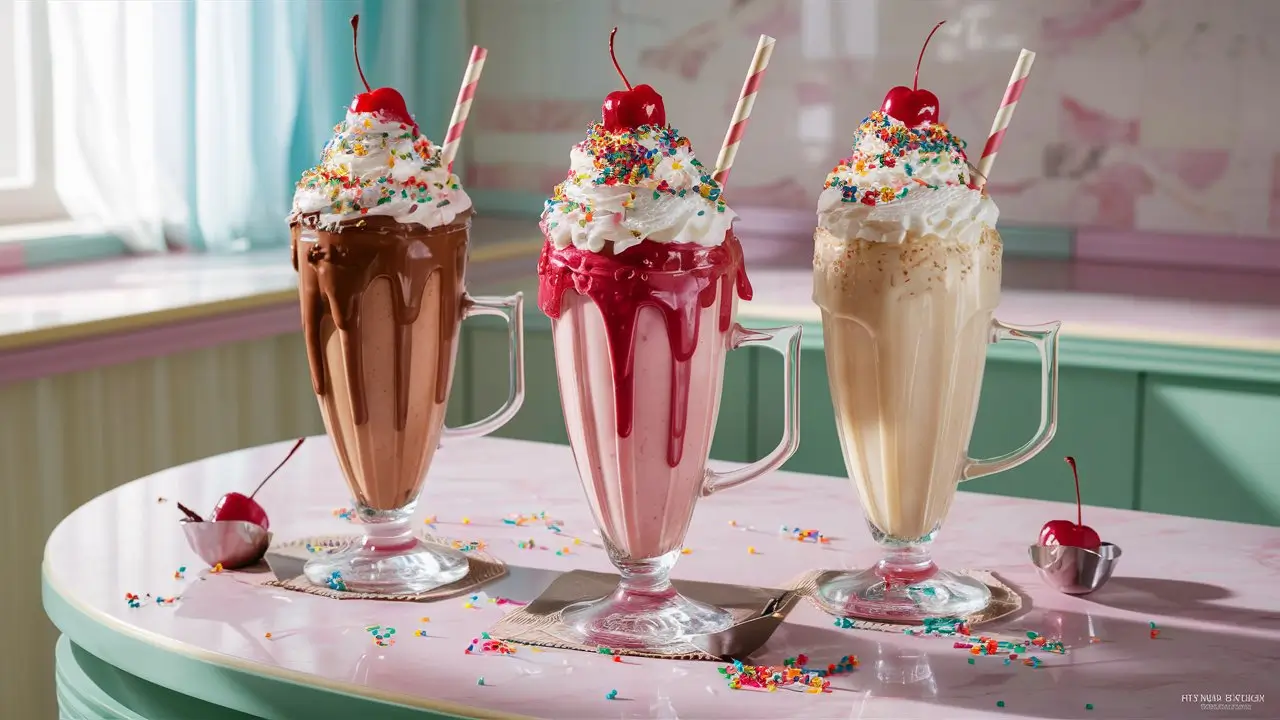
Nothing hits the spot quite like a rich, creamy milkshake recipe. Whether you’re craving something classic like vanilla or chocolate, or looking for a gourmet spin with cookies, fruit, or coffee, milkshakes are the perfect sweet treat. This complete guide will walk you through everything you need to know about making milkshakes at home—from the base recipe and flavor options to tips, storage, and nutrition.
Why You’ll Love This Recipe
-
Quick and easy: Ready in 5 minutes or less.
-
Customizable: Choose any flavor or topping you love.
-
Kid-friendly and fun: A treat the whole family will enjoy.
-
Budget-friendly: Made with just a few simple ingredients.
Ingredients List
For 2 servings of a classic vanilla milkshake:
-
2 cups vanilla ice cream (about 4 scoops)
-
1 cup whole milk (or any milk of choice)
-
1 teaspoon vanilla extract
-
Optional: whipped cream, sprinkles, chocolate syrup for garnish
Tools and Equipment
-
Blender (high-speed recommended)
-
Measuring cups and spoons
-
Ice cream scoop
-
Glasses for serving
-
Straw and spoon (optional, but fun.)
Timing
-
Prep Time: 5 minutes
-
Blend Time: 1–2 minutes
-
Total Time: 6–7 minutes
-
Servings: 2
How to Make a Milkshake Recipe (Step-by-Step)
Step 1: Add Ice Cream to the Blender
Scoop your ice cream into the blender. For a classic shake, use about 2 cups (or 4 scoops) of ice cream.
Step 2: Pour in the Milk
Add 1 cup of cold milk. Whole milk gives the creamiest results, but you can use 2%, almond milk, or oat milk if you prefer.
Step 3: Add Flavorings
For a basic vanilla milkshake, add 1 teaspoon of vanilla extract. If you’re making a flavored version (like chocolate), you can substitute this with chocolate syrup or other extracts.
Step 4: Blend Until Smooth
Blend on high speed until the mixture is smooth and creamy. This usually takes 30–60 seconds. If the milkshake is too thick, add a little more milk. If it’s too runny, add a bit more ice cream.
Step 5: Pour and Garnish
Pour the shake into two tall glasses. Top with whipped cream, chocolate syrup, sprinkles, crushed cookies, or fresh fruit—whatever matches your flavor theme.

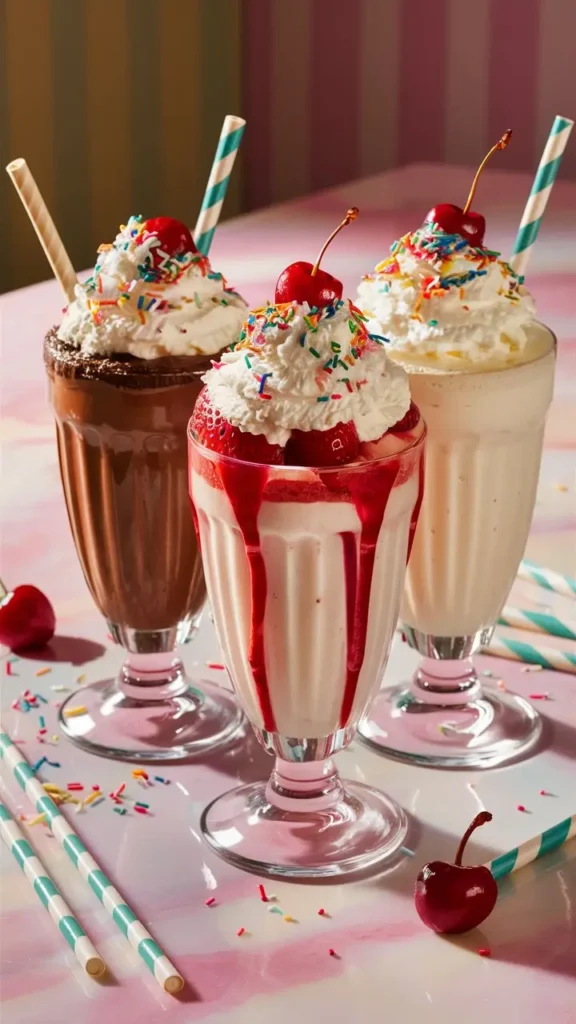
Flavor Variations
1. Chocolate Milkshake
-
Use chocolate ice cream or add 2–3 tablespoons of chocolate syrup to vanilla ice cream.
-
Garnish with chocolate shavings or syrup drizzle.
2. Strawberry Milkshake
-
Use fresh or frozen strawberries (½ cup) and strawberry ice cream.
-
Blend with a few drops of vanilla for balance.
3. Banana Milkshake
-
Add 1 ripe banana to the blender.
-
Great with vanilla or caramel ice cream.
4. Cookies and Cream Milkshake
-
Add 5–6 crushed chocolate sandwich cookies.
-
Top with whipped cream and a whole cookie.
5. Coffee Milkshake
-
Blend ½ cup cold brewed coffee with chocolate or vanilla ice cream.
-
For an extra caffeine hit, add espresso powder.
Make It Dairy-Free
You can easily make a non-dairy or vegan milkshake:
-
Use plant-based milk (almond, soy, coconut, oat).
-
Use dairy-free ice cream like cashew or coconut-based options.
-
Choose vegan whipped cream for topping.
Tips for the Best Homemade Milkshake
-
Use quality ice cream: It’s the main ingredient, so choose one with great flavor and texture.
-
Chill your glass: Put your glasses in the freezer for 10 minutes before serving to keep the shake cold longer.
-
Don’t over-blend: Blend just until smooth to avoid melting.
-
Adjust texture: Too thick? Add more milk. Too thin? Add more ice cream.
-
Sweeten to taste: Add a teaspoon of sugar or honey if you like it sweeter.
Thick vs. Thin Milkshakes
-
Thick milkshakes use less milk and more ice cream.
-
Thin milkshakes have more milk for easy sipping through a straw.
If you’re going for a spoonable shake, go thick. For something drinkable, keep it thinner.
Topping Ideas
Get creative with toppings:
-
Whipped cream
-
Chocolate syrup or caramel drizzle
-
Sprinkles or crushed nuts
-
Mini marshmallows
-
Crushed cookies or candy
-
Fresh fruit slices
-
A cherry on top (classic!)
How to Store Leftover Milkshake
Milkshakes are best enjoyed fresh, but if you need to store them:
In the Fridge
-
Can be kept for up to 12 hours.
-
Stir well before drinking again.
In the Freezer
-
Store in a freezer-safe container.
-
Thaw in the fridge for 30–60 minutes and blend again.
Nutritional Facts (Per Serving)
-
Calories: 380–450 (varies by flavor)
-
Protein: 8g
-
Carbohydrates: 45g
-
Fat: 20g
-
Sugar: 35g
-
Sodium: 160mg
-
Calcium: 25% DV
Note: These values are based on a vanilla milkshake with whole milk and whipped cream.
Milkshake vs. Smoothie: What’s the Difference?
Milkshakes are dessert-style drinks made with ice cream, while smoothies are usually made with frozen fruit, yogurt, or milk and tend to be healthier or more meal-oriented.
Fun Milkshake Bar Idea
Hosting a party? Create a milkshake bar where guests can:
-
Choose their flavor base (vanilla, chocolate, strawberry)
-
Pick mix-ins (cookies, fruits, candies)
-
Add toppings (whipped cream, syrups, nuts)
This makes for a fun and interactive dessert station at birthdays or gatherings.
FAQs
Can I make a milkshake without a blender?
Yes! You can use a food processor or hand mixer. You can even mash the ice cream with a fork and whisk in the milk until smooth.
What’s the best milk for milkshakes?
Whole milk gives the richest texture, but 2%, skim, or plant-based milks also work. For ultra-thick shakes, try using half-and-half or cream.
Can I make a milkshake without ice cream?
Yes! Use frozen bananas or Greek yogurt with crushed ice and milk for a “nice cream” texture.
Conclusion
A milkshake is more than just a dessert—it’s a nostalgic, feel-good treat that brings joy with every sip. Whether you love the classic vanilla or like to experiment with bold flavors like coffee, cookies, or banana, making milkshakes at home is simple, delicious, and endlessly customizable.
So grab your blender, scoop some ice cream, and create your own masterpiece. It’s time to enjoy the perfect milkshake.