
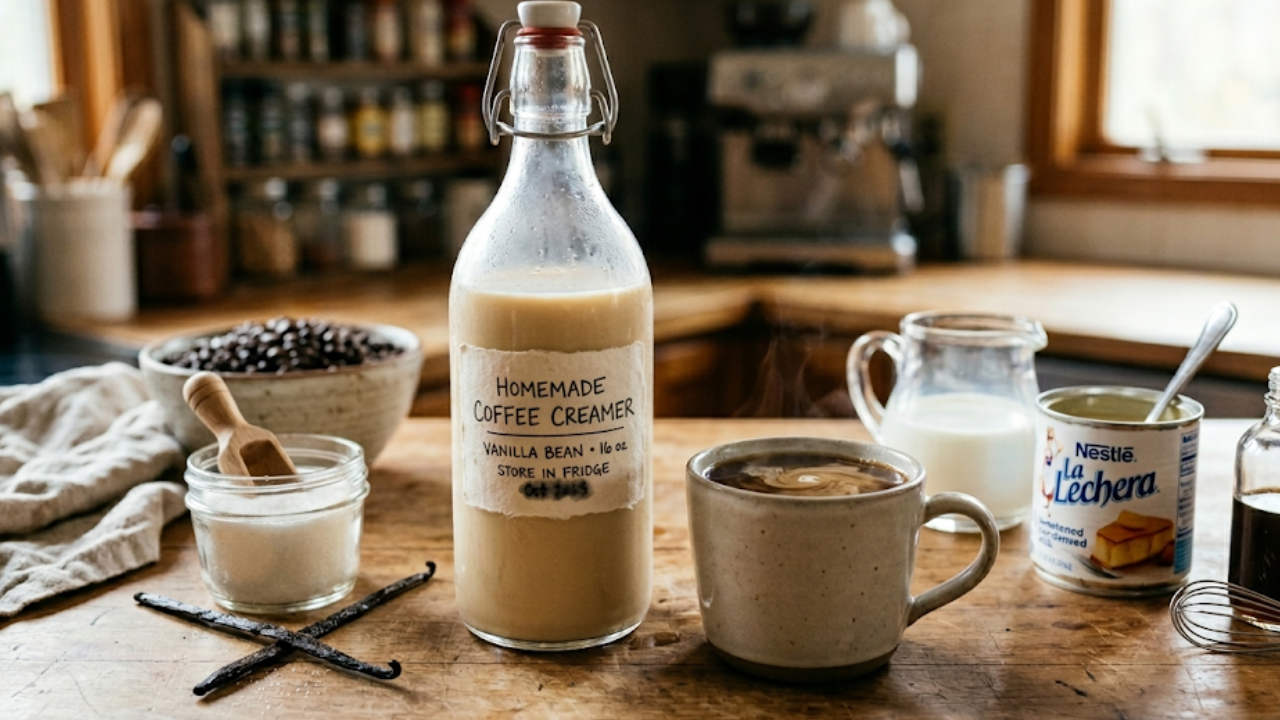
Nothing beats a cup of coffee personalized just the way you like it. With this homemade coffee creamer recipe, you can skip store-bought versions loaded with preservatives and enjoy a rich, creamy addition to your morning brew. Customizable, smooth, and made from simple ingredients, this creamer elevates your coffee experience to café-quality comfort right at home.
Why This Recipe Is Popular / Why You’ll Love It
Uses natural ingredients with no artificial additives.
Fully customizable flavors: vanilla, caramel, hazelnut, or seasonal spices.
Quick and easy to make in under 10 minutes.
Long shelf life in the refrigerator (up to 2 weeks).
Perfect for daily coffee lovers who want control over sweetness and richness.
Equipment
Small saucepan
Whisk
Measuring cups and spoons
Glass jar or airtight container for storage
Spoon for stirring
Funnel (optional, for transferring to jar)
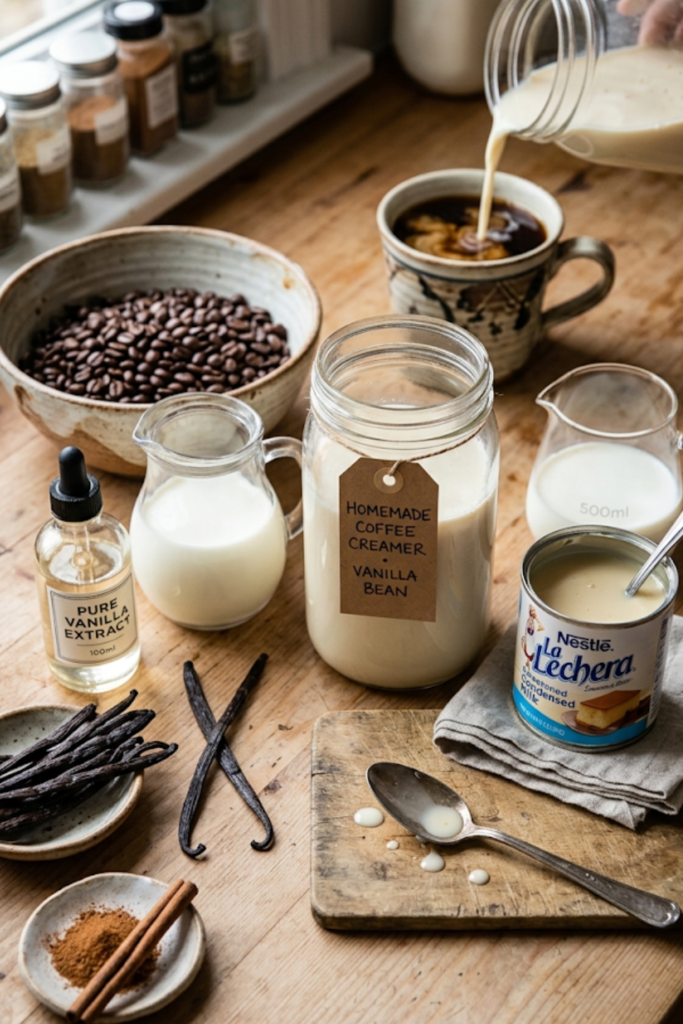
Ingredients
Base Creamer:
1 cup whole milk (or plant-based milk: almond, oat, or soy)
1 cup heavy cream (or full-fat coconut milk for dairy-free)
¼ cup granulated sugar or preferred sweetener
1 teaspoon vanilla extract
Optional Flavor Additions:
1–2 tablespoons caramel syrup
1–2 tablespoons hazelnut syrup
½ teaspoon ground cinnamon or pumpkin spice
1 tablespoon cocoa powder for mocha flavor
Timing and Servings
Prep Time: 5 minutes
Cook Time: 5 minutes
Total Time: 10 minutes
Servings: Makes about 2 cups
Calories per serving: ~80 kcal (per 2 tablespoons)
How to Make Homemade Coffee Creamer (Step-by-Step Instructions)
Step 1: Combine the Base Ingredients
In a small saucepan over medium heat, add milk, cream, and sugar. Whisk gently to combine and dissolve the sugar completely.
Step 2: Heat Without Boiling
Warm the mixture until it’s hot but not boiling, around 5 minutes. Stir frequently to prevent the cream from scalding.
Step 3: Add Flavorings
Remove from heat and stir in vanilla extract and any optional flavors like cinnamon, cocoa, or caramel. Whisk until fully combined and smooth.
Step 4: Cool and Store
Allow the creamer to cool to room temperature. Pour into a clean glass jar or airtight container using a funnel if needed.
Step 5: Refrigerate
Store in the refrigerator for up to 2 weeks. Shake well before each use, as separation may occur naturally.
Step 6: Serve
Add 1–2 tablespoons to your freshly brewed coffee, adjusting to taste. Enjoy a creamy, flavorful cup every morning.

Tips for Best Results
Use fresh, high-quality milk and cream for the richest flavor.
Adjust sweetness to personal preference; start with less sugar and add more if needed.
For vegan or lactose-free options, substitute dairy with almond, oat, or coconut milk and coconut cream.
Experiment with seasonal flavors like pumpkin spice, peppermint, or maple syrup.
Always store in a sealed container to maintain freshness.
Variations
Vanilla Almond Creamer: Add 1 teaspoon almond extract instead of vanilla.
Caramel Delight: Stir in 2 tablespoons homemade caramel syrup for a dessert-style coffee.
Mocha Creamer: Whisk in 1 tablespoon unsweetened cocoa powder.
Spiced Creamer: Mix in ½ teaspoon pumpkin spice or ground cinnamon for a seasonal twist.
What to Serve With It
Freshly brewed coffee, espresso, or latte
Hot chocolate for a creamy twist
Oatmeal or hot cereal for extra richness
Coffee-flavored desserts like tiramisu or ice cream affogato
Storage and Reheating
Store in the refrigerator for up to 2 weeks.
Shake well before each use to recombine separated ingredients.
Can be gently warmed in a saucepan or microwave if desired, but avoid boiling.
Freeze for longer storage in ice cube trays for single-serve portions.
Common Mistakes to Avoid
Boiling the milk/cream mixture: Can cause curdling and bitter taste.
Skipping whisking: Sugar or flavorings may not fully dissolve.
Using low-fat milk only: Results in thin and less creamy texture.
Adding flavorings too early: Heat can diminish delicate flavors like vanilla.
Nutritional Facts (Per 2 Tbsp Serving)
Calories: 80 kcal
Protein: 1 g
Carbs: 5 g
Fat: 7 g
Fiber: 0 g
Sugar: 5 g
Sodium: 15 mg
Cholesterol: 25 mg
Conclusion
Making homemade coffee creamer is a simple way to transform your daily coffee routine. With customizable flavors, natural ingredients, and creamy richness, this recipe offers a healthier, tastier, and more personalized alternative to store-bought creamers. Once you try it, it will quickly become an essential part of your morning ritual.
FAQs
1. Can I make this creamer sugar-free? Yes, substitute sugar with stevia, monk fruit, or any preferred sugar alternative. Adjust sweetness to taste.
2. How long does homemade creamer last? It lasts up to 2 weeks in the refrigerator in a sealed container. Always shake before use.
3. Can I use plant-based milk? Absolutely! Almond, oat, or coconut milk works well. Use coconut cream or full-fat coconut milk for richness.
4. Can I freeze homemade creamer? Yes, pour into ice cube trays and freeze. Use cubes as needed for single-serve portions.
5. How do I make different flavors? Stir in extracts (vanilla, almond), spices (cinnamon, pumpkin spice), or syrups (caramel, hazelnut) after heating.
6. Is it safe to heat in the microwave? Yes, but heat in short intervals and stir in between to prevent curdling.