
There’s something undeniably nostalgic about the sharp, cheesy crunch of a Cheez-It cracker. But did you know that you can easily make Homemade Cheez-Its in your own kitchen with just a few basic ingredients? These crisp, golden squares are packed with real cheese flavor and none of the preservatives found in boxed versions.
Whether you’re looking for a fun cooking project, a lunchbox snack, or a party-worthy appetizer, these homemade cheese crackers will quickly become your go-to recipe.
Why You Will Love This Recipe
Real Cheese Flavor: Made with sharp cheddar and zero artificial ingredients.
Crispy and Addictive: The texture is light, crisp, and every bit as snackable as store-bought.
Kid-Friendly and Adult-Approved: Great for all ages, lunchboxes, or charcuterie boards.
Customizable Seasonings: Make them spicy, herby, or extra cheesy to suit your taste.
What Are Homemade Cheez-Its?
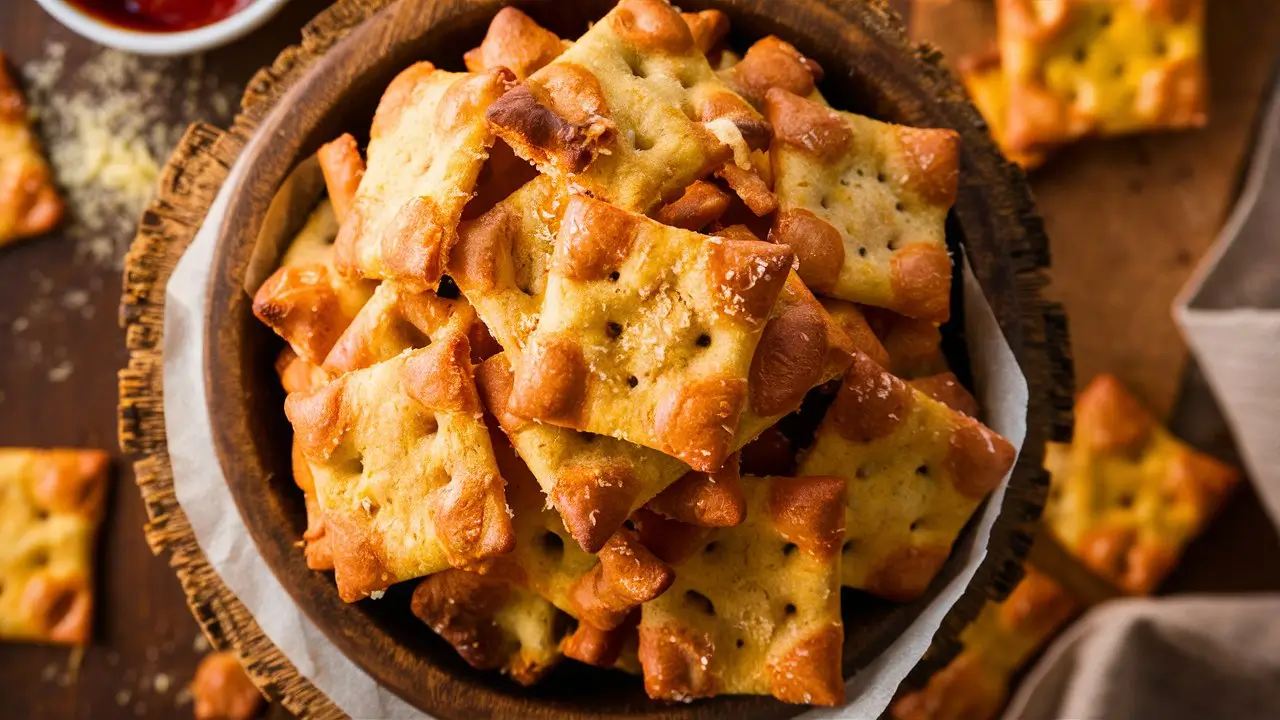
Homemade Cheez-Its are buttery, flaky crackers made with real cheese, butter, flour, and simple seasonings. Unlike store-bought varieties that often contain preservatives and additives, these are made from scratch using wholesome ingredients. They are rolled out thin, cut into squares, and baked until perfectly crisp.
The flavor is bold and cheesy, with a slight tang from sharp cheddar and a satisfying crunch in every bite.
Ingredients for Homemade Cheez-Its
Here’s what you’ll need to make a classic batch of Cheez-Its at home:
8 ounces sharp cheddar cheese, shredded
4 tablespoons unsalted butter, cold and cubed
1 cup all-purpose flour
½ teaspoon salt
2 tablespoons ice water (plus more if needed)
¼ teaspoon paprika or cayenne (optional, for a flavor kick)
Optional Toppings:
Sea salt flakes
Cracked black pepper
Garlic powder
Parmesan cheese
Timing & Servings
Prep Time: 25 minutes
Chill Time: 30 minutes
Bake Time: 15–18 minutes
Total Time: ~1 hour 15 minutes
Servings: Makes about 5–6 dozen small crackers
Step-by-Step Instructions for Homemade Cheez-Its
Step 1: Prepare the Cheese Dough
In a food processor, combine:
Shredded cheddar
Butter
Flour
Salt
Paprika (or cayenne)
Pulse until the mixture resembles coarse crumbs. Add ice water 1 tablespoon at a time, pulsing between additions, until the dough starts to come together.
Step 2: Chill the Dough
Form the dough into a disk, wrap it in plastic wrap, and refrigerate for 30 minutes. This makes it easier to roll and helps the crackers hold their shape.
Step 3: Roll and Cut the Dough
Preheat oven to 375°F (190°C).
On a lightly floured surface, roll out the dough to about ⅛ inch thickness. Use a sharp knife, pizza cutter, or pastry wheel to cut the dough into 1-inch squares. Use a skewer or chopstick to poke a small hole in the center of each square—this gives it that iconic Cheez-It look.
Step 4: Bake to Perfection
Place the squares on a parchment-lined baking sheet, leaving a bit of space between each one. Bake for 15 to 18 minutes, or until the edges turn golden brown and the crackers are crisp.
Watch closely during the final minutes to prevent burning.
Step 5: Cool and Store
Let the crackers cool completely on a wire rack. They will continue to crisp as they cool. Store in an airtight container for up to 1 week.

Tips for Perfect Homemade Cheez-Its
Use Cold Ingredients
Cold butter and ice water are crucial for flaky texture. Don’t skip chilling the dough.
Roll Evenly
An even thickness ensures the crackers bake uniformly and get that perfect crunch.
Bake Until Deeply Golden
Slightly overbaking is better than underbaking when it comes to crispiness. A little color adds flavor and crunch.
Flavor Variations
You can easily adjust this recipe for different flavors:
Spicy Cheez-Its
Add ½ teaspoon cayenne or chipotle powder to the dough
Sprinkle red pepper flakes before baking
Herbed Cheez-Its
Add dried rosemary, thyme, or Italian seasoning to the dough
Use garlic powder and onion powder for extra depth
Extra Cheesy
Mix in Parmesan or Gruyère with the cheddar for complex flavor
Sprinkle shredded cheese on top before baking
Make It Gluten-Free
Substitute gluten-free flour blend (with xanthan gum) for the all-purpose flour. The texture may vary slightly, but the cheesy flavor holds strong.
Make-Ahead and Storage Tips
How to Store
Store your cooled crackers in an airtight container at room temperature. They’ll stay crispy for up to 7 days.
Can You Freeze the Dough?
Yes! Wrap the dough tightly in plastic wrap and store in a freezer bag for up to 1 month. Thaw in the refrigerator before rolling and baking.
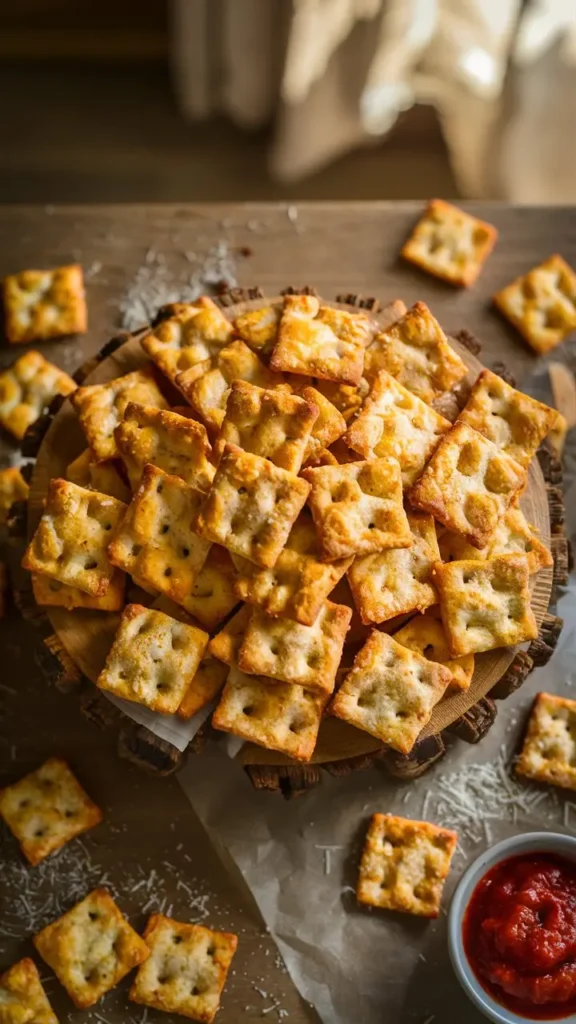
Serving Suggestions
Homemade Cheez-Its are perfect for:
Snacks and lunchboxes
Party trays or cheese boards
Game day or movie nights
Soups or chili toppers
They also make a great base for snack mixes—combine with pretzels, popcorn, or nuts.
Nutritional Overview (Per 10–12 crackers)
Calories: ~130
Fat: 9g
Carbs: 10g
Protein: 4g
Sodium: ~180mg
Note: Nutritional values can vary depending on cheese type and thickness of crackers.
FAQs
Can I Use Pre-Shredded Cheese?
It’s better to grate your own cheese from a block. Pre-shredded cheese contains anti-caking agents that can interfere with the dough’s texture.
Do I Need a Food Processor?
It helps to get the dough evenly mixed, but you can also use a pastry cutter or your hands to mix everything together.
Why Are My Crackers Not Crispy?
They might be too thick or underbaked. Make sure the dough is rolled thin and bake until the edges are golden brown.
Can I Make Them Without Butter?
You can try substituting butter with shortening for a slightly different texture, but butter provides the best flavor and crispness.
Conclusion
Homemade Cheez-Its are a fun and flavorful alternative to store-bought snacks. With just a few pantry ingredients and a little time, you can whip up a batch of cheesy, crispy crackers that rival anything from the box. They’re versatile, kid-approved, and make a great addition to any snack spread.
Once you try this recipe, you’ll never look at the orange box the same way again. Give it a go—and don’t be surprised when they disappear faster than you expected!