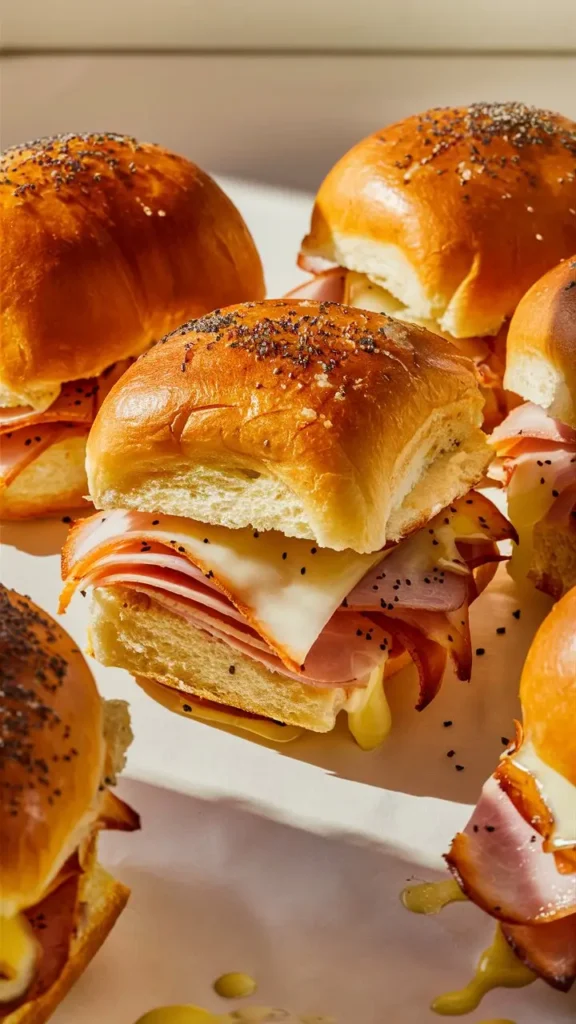
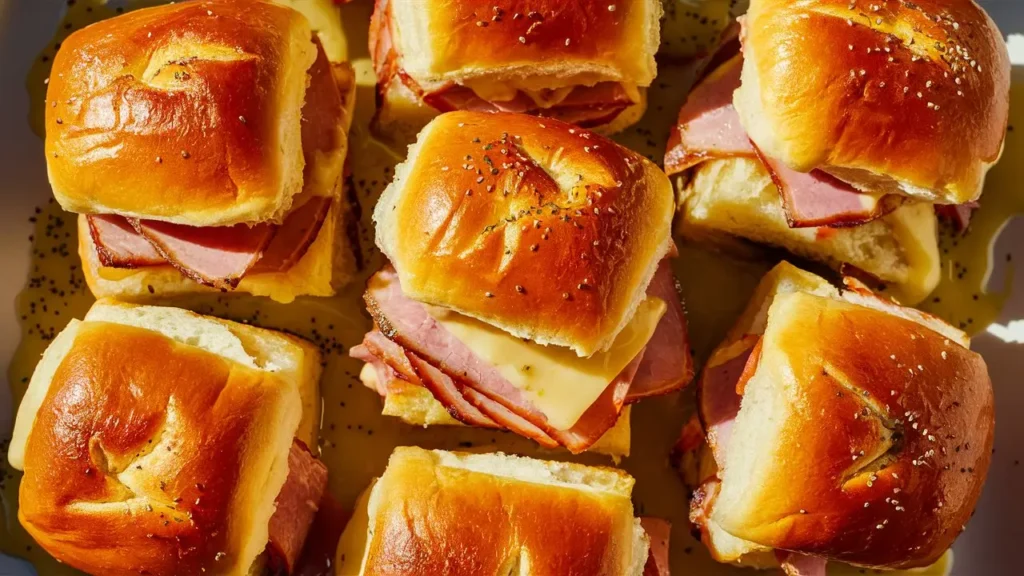
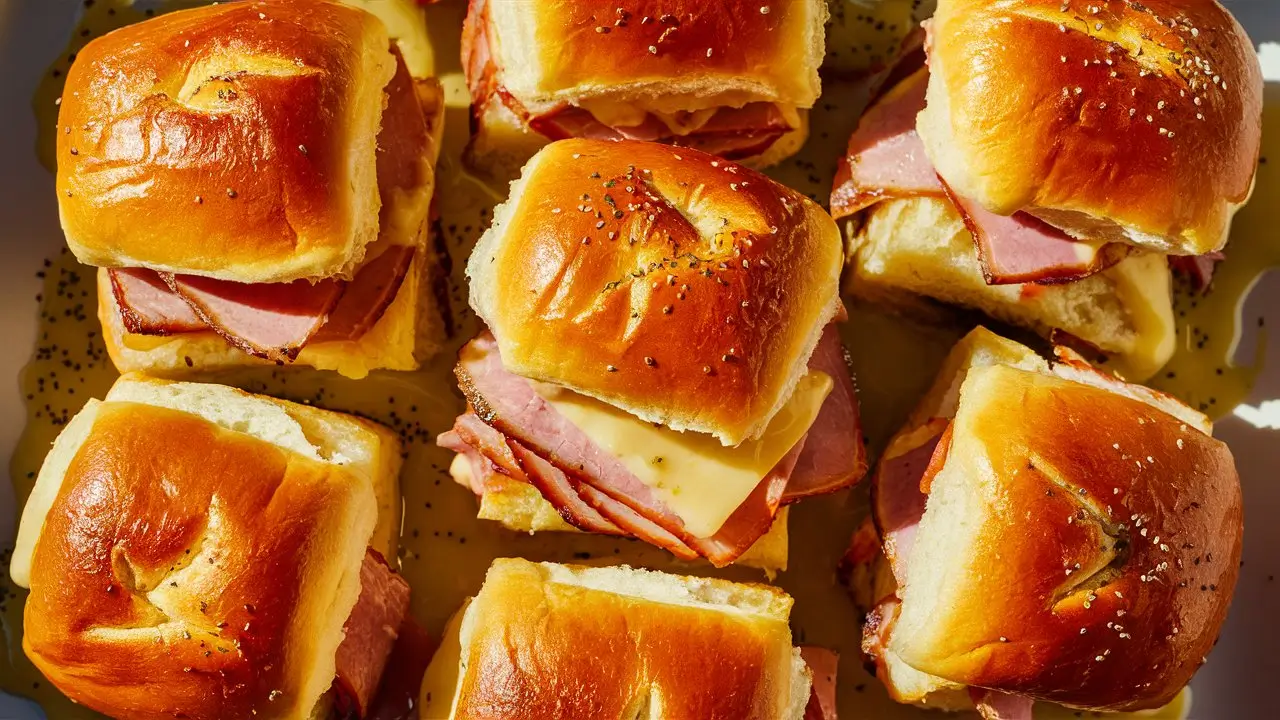
If you’re looking for an easy, crowd-pleasing recipe that’s perfect for gatherings, potlucks, game days, or even quick dinners, Hawaiian roll sliders are a must-try. These soft, sweet rolls are layered with savory meats, melted cheese, and topped with a buttery glaze that gets baked until golden and gooey. They’re flavorful, customizable, and incredibly satisfying.
Why You’ll Love These Hawaiian Roll Sliders
-
Perfect for Parties – Easy to make in large batches.
-
Quick to Prepare – Just 10–15 minutes of prep time.
-
Versatile Flavors – Endless variations to suit any taste.
-
Kid-Approved – Sweet rolls and melty cheese are always a win.
-
Great for Meal Prep – Reheats well and can be made ahead of time.
What Are Hawaiian Roll Sliders?
Hawaiian roll sliders are small sandwiches made by slicing a package of sweet Hawaiian rolls in half (keeping the rolls connected), layering them with fillings, topping them with a buttery glaze, and baking them until warm and melty. The result is a pan full of irresistible, pull-apart sliders with soft interiors and a golden, flavorful crust.
Ingredients List
Base Ingredients:
-
1 (12-count) package Hawaiian sweet rolls
-
1/2 pound deli meat (ham, turkey, roast beef, or shredded chicken)
-
6–8 slices cheese (Swiss, cheddar, provolone, or mozzarella)
For the Butter Glaze:
-
1/2 cup (1 stick) melted butter
-
1 tablespoon Dijon mustard
-
1 tablespoon Worcestershire sauce
-
1 teaspoon onion powder
-
1 teaspoon garlic powder
-
1 tablespoon poppy seeds (optional)
-
Fresh parsley or dried Italian seasoning (optional)
Timing and Servings
-
Prep Time: 15 minutes
-
Cook Time: 20 minutes
-
Total Time: 35 minutes
-
Servings: 12 sliders (about 6 servings)
How to Make Hawaiian Roll Sliders (Step-by-Step)
Step 1: Prep the Rolls
-
Preheat oven to 350°F (175°C).
-
Without separating the rolls, slice the entire pack in half horizontally.
-
Place the bottom half in a greased 9×13-inch baking dish or foil-lined pan.
Step 2: Layer the Fillings
-
Add your choice of deli meat evenly over the bottom half.
-
Top with slices of cheese.
-
Place the top half of the rolls over the filling.
Step 3: Make the Butter Glaze
-
In a bowl, mix melted butter with mustard, Worcestershire, garlic powder, onion powder, and poppy seeds.
-
Brush generously over the tops of the rolls.
Step 4: Bake the Sliders
-
Cover loosely with foil and bake for 15 minutes.
-
Remove foil and bake an additional 5–7 minutes, until the tops are golden and the cheese is melted.
Step 5: Slice and Serve
-
Let rest for 5 minutes before slicing.
-
Use a sharp knife or serrated blade to cut between the rolls.

Popular Hawaiian Roll Slider Variations
1. Classic Ham and Swiss
-
Deli ham + Swiss cheese + Dijon mustard glaze
-
Add pickles or caramelized onions for extra flavor
2. Turkey and Cheddar
-
Oven-roasted turkey + sharp cheddar + cranberry sauce or aioli
3. Roast Beef and Provolone
-
Thin roast beef + provolone + horseradish mayo
4. BBQ Chicken Sliders
-
Shredded BBQ chicken + red onion + Monterey Jack cheese
5. Cheeseburger Sliders
-
Ground beef patty layer + American cheese + ketchup/mustard glaze
6. Breakfast Sliders
-
Scrambled eggs + bacon or sausage + cheddar + maple butter glaze
7. Vegetarian Sliders
-
Sautéed mushrooms + spinach + mozzarella or goat cheese
What to Serve with Hawaiian Roll Sliders
Sliders can be served alone or with simple sides:
-
Coleslaw
-
Potato salad
-
Pickles or chips
-
Roasted vegetables
-
Fruit salad
-
Tomato or vegetable soup
Make-Ahead Tips for Hawaiian Roll Sliders
Preparing in Advance
-
Assemble the sliders (without baking) up to 24 hours in advance.
-
Store in the refrigerator, covered tightly with foil.
-
Add glaze just before baking for the best texture.
Freezing Instructions
-
Assemble sliders and wrap tightly in foil.
-
Freeze for up to 2 months.
-
Bake from frozen at 350°F for 25–30 minutes, covered.
Storage and Reheating Instructions
Storing Leftovers
-
Store cooled sliders in an airtight container in the refrigerator for up to 3 days.
Reheating
-
Reheat in the oven at 300°F (150°C) for 10–15 minutes until warmed through.
-
Microwave for individual portions (though texture may soften).
Tips for Making the Best Sliders
-
Keep rolls attached – It’s easier to assemble and cut cleanly after baking.
-
Use enough butter glaze – It helps create that rich, golden top.
-
Cover while baking – Keeps them moist before uncovering for browning.
-
Shred your own cheese – Melts better than pre-shredded.
-
Don’t overstuff – Too much filling can make sliders hard to cut or soggy.
Healthier Slider Alternatives
Looking for a lighter version?
-
Use whole wheat or reduced-sugar rolls
-
Choose lean meats like turkey or grilled chicken
-
Swap full-fat cheese for low-fat versions
-
Use Greek yogurt-based spread instead of mayo or butter
-
Add fresh veggies like lettuce, spinach, or thin cucumber slices
FAQs
Q1: Can I make these without butter?
You can use olive oil, but butter adds rich flavor and helps brown the rolls.
Q2: What if I don’t have Hawaiian rolls?
You can substitute with any soft dinner rolls or slider buns, but Hawaiian rolls add a unique sweet flavor.
Q3: How do I prevent soggy sliders?
Avoid too many wet ingredients, and bake uncovered for the last few minutes to crisp the top.
Q4: Can I use pulled pork or brisket?
Absolutely! They make delicious filling options—just ensure they’re not too wet.
Q5: Can I make these in an air fryer?
Yes, you can bake small batches in an air fryer at 300°F for 10–12 minutes.
Conclusion
Hawaiian roll sliders are one of the most delicious, satisfying, and easy-to-make finger foods you can add to your recipe collection. Whether you’re hosting a party, planning a game day menu, or simply need a quick dinner, these sliders check all the boxes—savory, cheesy, buttery, and soft.
Try out different fillings, play around with toppings, and you’ll soon find your own go-to slider recipe. Once you start making these little sandwiches, you’ll realize how addictive and fun they are to serve—and how quickly they disappear.
