

Apple cider is the essence of autumn in a mug. It’s warm, spiced, and deeply comforting. Unlike store-bought versions that often contain preservatives or excess sugar, homemade apple cider is made from fresh apples, aromatic spices, and just the right touch of sweetness. Whether you’re hosting a fall gathering or simply want a cozy drink on a chilly evening, this recipe brings out the season’s best in every sip.
In this guide, you’ll learn how to make traditional hot apple cider from scratch using fresh ingredients. We’ll also explore serving ideas, variations like spiked apple cider, storage tips, and more. Let’s make your kitchen smell like fall.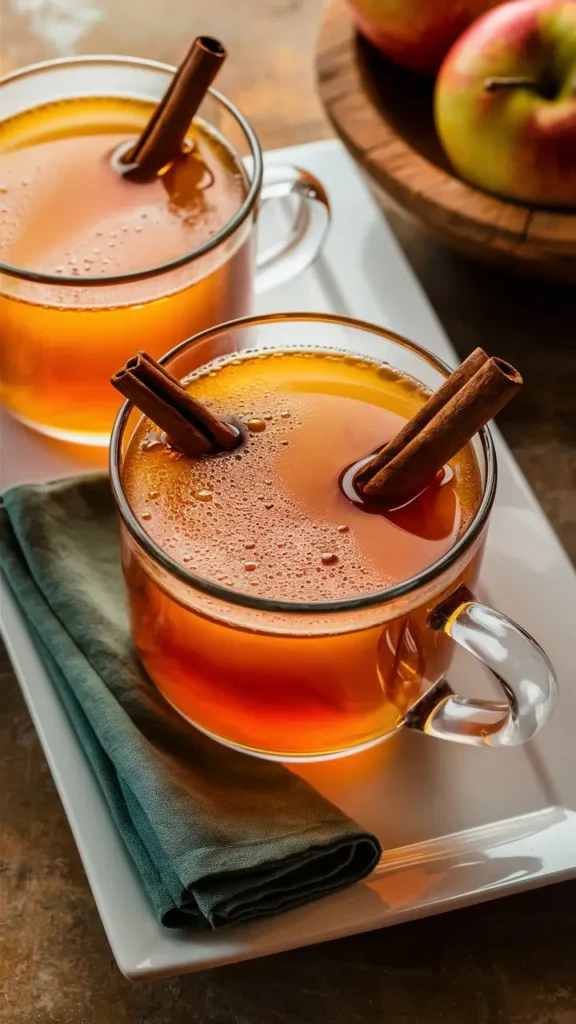
Why You Will Love This Recipe
Made from Real Apples – No concentrates or artificial flavors here; just whole, fresh apples simmered to perfection.
Perfectly Spiced – With cinnamon, cloves, allspice, and orange, the flavors are warm, deep, and balanced.
Easy to Customize – Adjust sweetness, spices, or even spike it with bourbon or rum for a festive twist.
Incredible Aroma – As it simmers on your stove, the smell alone will bring everyone into the kitchen.
Ingredients List
Here’s everything you’ll need to prepare classic homemade apple cider:
10–12 medium apples (a mix of sweet and tart varieties like Fuji, Gala, Granny Smith, and Honeycrisp)
1 large orange, quartered (optional, but adds depth)
4 cinnamon sticks
1 tablespoon whole cloves
1 tablespoon whole allspice
1 nutmeg (or 1 tsp ground nutmeg)
8 cups (2 liters) water, or enough to cover the fruit
½ cup brown sugar (adjust to taste)
Optional: maple syrup, star anise, fresh ginger slices
Recommended Apple Varieties
A blend of sweet and tart apples gives the best flavor. Here’s a good ratio:
4 Honeycrisp
3 Gala or Fuji
3 Granny Smith
Timing & Servings
Prep Time: 15 minutes
Cook Time: 2 hours
Total Time: 2 hours 15 minutes
Servings: Makes about 8 cups (serves 6–8)
Step-by-Step Instructions for Apple Cider
Step 1: Wash and Chop the Apples
Wash the apples thoroughly, then quarter them. No need to peel or core them—everything goes into the pot, including seeds and stems, which enhance the flavor.
Step 2: Add Ingredients to a Large Pot
Place apples and orange quarters into a large stockpot. Add cinnamon sticks, cloves, allspice, nutmeg, and any optional spices like ginger or star anise.
Step 3: Cover with Water
Pour enough water to cover the fruit, usually around 8 cups.
Step 4: Simmer
Bring the mixture to a boil over high heat, then reduce to a simmer. Let it simmer uncovered for about 1.5 to 2 hours. Stir occasionally and press the fruit with a spoon to help release the juices.
Step 5: Mash the Fruit
After simmering, use a potato masher to gently mash the softened fruit to extract even more flavor. Simmer for another 30 minutes.
Step 6: Strain the Cider
Use a fine-mesh sieve or cheesecloth over a large bowl or second pot. Carefully pour and strain the liquid, discarding the solids.
Step 7: Sweeten to Taste
Return the cider to the pot and stir in brown sugar (and maple syrup, if desired). Adjust to your preferred sweetness level. Simmer for 5–10 more minutes.
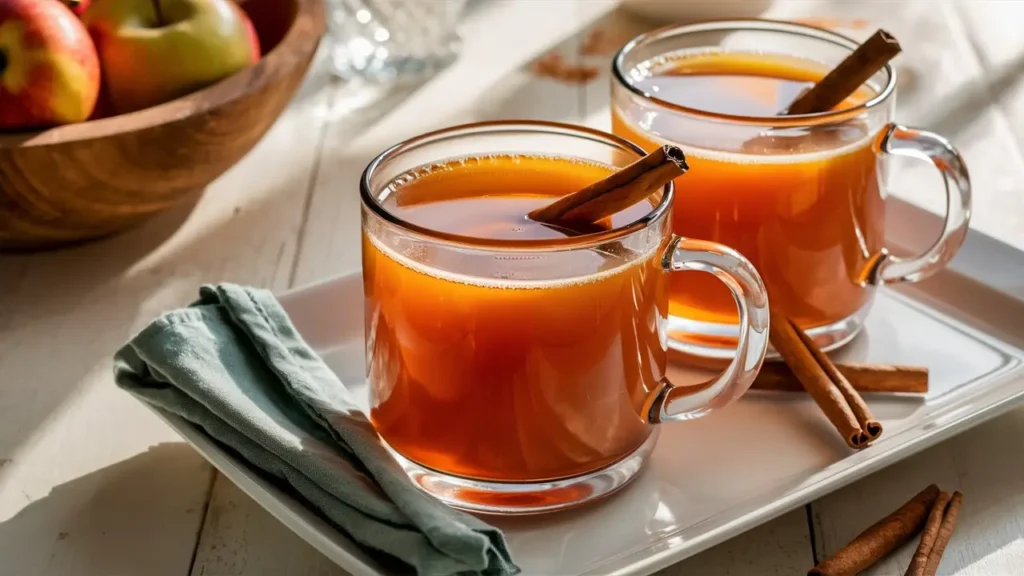
Step 8: Serve Hot
Serve warm in mugs. Garnish with a cinnamon stick or orange slice for extra flair.
Variations to Try
Spiked Apple Cider
Add 1–2 ounces of dark rum, bourbon, or spiced whiskey to each serving for an adult version.
Chilled Apple Cider
Cool and refrigerate the cider, then serve over ice with a splash of club soda for a refreshing drink.
Slow Cooker Apple Cider
Add all ingredients to a slow cooker and cook on low for 6–8 hours or high for 3–4 hours.
Tips for Success
Leave skins and cores – These contain a lot of natural pectin and flavor.
Strain thoroughly – Use cheesecloth for a smoother cider with no pulp.
Don’t over-sweeten early – Sweetness intensifies as cider reduces. Taste after simmering.
How to Store Apple Cider
Store cooled cider in a glass jar or bottle in the refrigerator for up to 7 days. For longer storage, freeze in airtight containers for up to 3 months.
Reheating Tips
Reheat over the stovetop or in the microwave until warm. Avoid boiling to preserve flavor.
What to Serve With Apple Cider
Cinnamon Rolls
Pumpkin Bread
Cheese Platters
Roasted Nuts
Apple Pie
It also makes a beautiful pairing with holiday meals like turkey, ham, or stuffing.
Nutrition Information (Per Serving)
Estimated per 8-ounce serving:
Calories: 110
Sugar: 22g
Carbohydrates: 27g
Fat: 0g
Protein: 0g
Fiber: 1g (varies based on straining)
Make It Ahead
Homemade apple cider is perfect for prepping in advance. Make it up to 2 days ahead and store it in the fridge. Just reheat before serving.
Presentation Ideas
Serve in mason jars with twine for rustic charm.
Float apple slices or cranberries for color.
Top with whipped cream and a sprinkle of cinnamon for a dessert-like treat.
FAQs
Can I use apple juice instead of fresh apples?
Not for this recipe. Apple cider is made from simmering whole apples to extract flavor and body. Apple juice won’t offer the same depth.
Is apple cider the same as apple juice?
No. Apple cider is typically unfiltered and less processed than apple juice. It has a richer, fuller flavor.
Can I make this recipe without oranges?
Yes. Oranges add citrusy brightness, but you can leave them out or substitute with lemon slices or extra cinnamon.
Can I double this recipe?
Absolutely! Just be sure to use a large enough pot and increase the cooking time slightly.
Can I make it sugar-free?
Yes. The natural sweetness from the apples is enough for many people. Skip the brown sugar or add a sugar-free alternative if needed.
Conclusion
Homemade apple cider is not just a drink—it’s an experience. From the cozy aroma that fills your home to the rich, spiced flavor, every cup brings comfort and warmth. Whether served at a holiday table or enjoyed solo on a quiet night, this cider recipe is one you’ll come back to each season.
If you’ve never made it from scratch, now’s the perfect time. Gather your apples, warm up the pot, and let autumn unfold in your kitchen.